Using the libraries you created using the Getting Started (Step 2) instructions, you are now ready to create your first job template. Job templates are the foundation for posting live jobs to recruit and seek candidates for your organization. When posted, a job template becomes the online application job seekers will use to apply.
There are two main ways to build positions in your Job Templates library. You can:
- Build a template from scratch.
- Clone and modify an existing template from your job template library.
In this guide, we will focus on building a template from start to finish. Begin by opening the Job Template library in your hiring system:
- Select the Job Templates tab from the main menu.
- Choose +Create Template to open the job template builder.
Note that when creating a template, the selected elements will display within the application for job seekers in the same order as they appear in your system. Some elements can be reordered by clicking the row and then dragging and dropping to a new location.
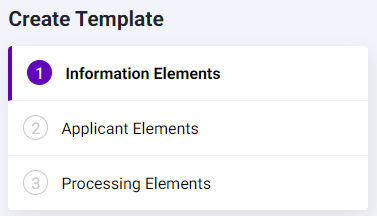
Step #1) Add Information Elements to the job template
- Enter the Job Title.
- Select the Department and Employment Type from the drop-down menus.
- To import the remaining information elements click +ADD FROM LIBRARY and select one or more available elements from the library menu. Required information elements are marked with a red asterisk.
- Repeat to import additional information elements from their libraries.
- To reorder information elements, click the row then drag and drop to a new location.
- Click Save and Continue to move on to Step #2.
Step #2) Add Application Content

Part One of Application
- Resume is locked in the On position and set to Optional by default. Change to Required by making the selection from the drop-down.
- Cover Letter is toggled Off by default. Click the button to toggle On and then select Optional or Required from the drop-down.
- Employment History and Education History are toggled Off. Click each button to individually toggle them On.
- To include a question set, click +Add Question Set From Library and select the set.
- Repeat to include additional question sets.
- To reorder the application content, click the row then drag and drop to a new location in Part 1 of the application or Part 2.
Note: Employment History, Education History, and Certifications are global settings found in Applicant Elements > System, which can be reviewed by Account Administrators or other users with permissions.
Part Two of Application
- References are included in Part 2 of the application and toggled Off by default. Click the button to toggle On and select the required number of references to be provided by the applicant from the drop-down.
- To include a question set, click +Add Custom Section and select the set.
- Repeat to add additional question sets.
- To reorder the application content, click the row then drag and drop to a new location in Part 1 of the application or Part 2.
- Click Save and Continue.
Step #3) Select Processing Elements
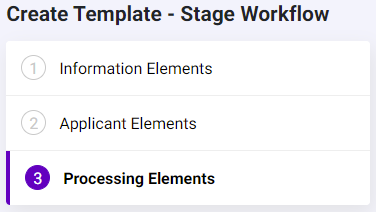
- Select a Stage Workflow.
- Click Save to finish creating the job template.
Note: Editing an element directly from the job template builder will require saving it as a new item in that particular element library. If there is a spelling mistake or other updates are needed for future use, it is better to open that element directly from the original location.
Continue following through the guides until you get to Getting Started (Step 5), which will show you how to post your first job.
Previous: Getting Started (Step 2): Building Your Library
Next: Getting Started (Step 4): Establishing Roles & Adding users